
The Essential Antique Lamp Rewiring Safety Guide: How to Illuminate History Without Burning Down the House
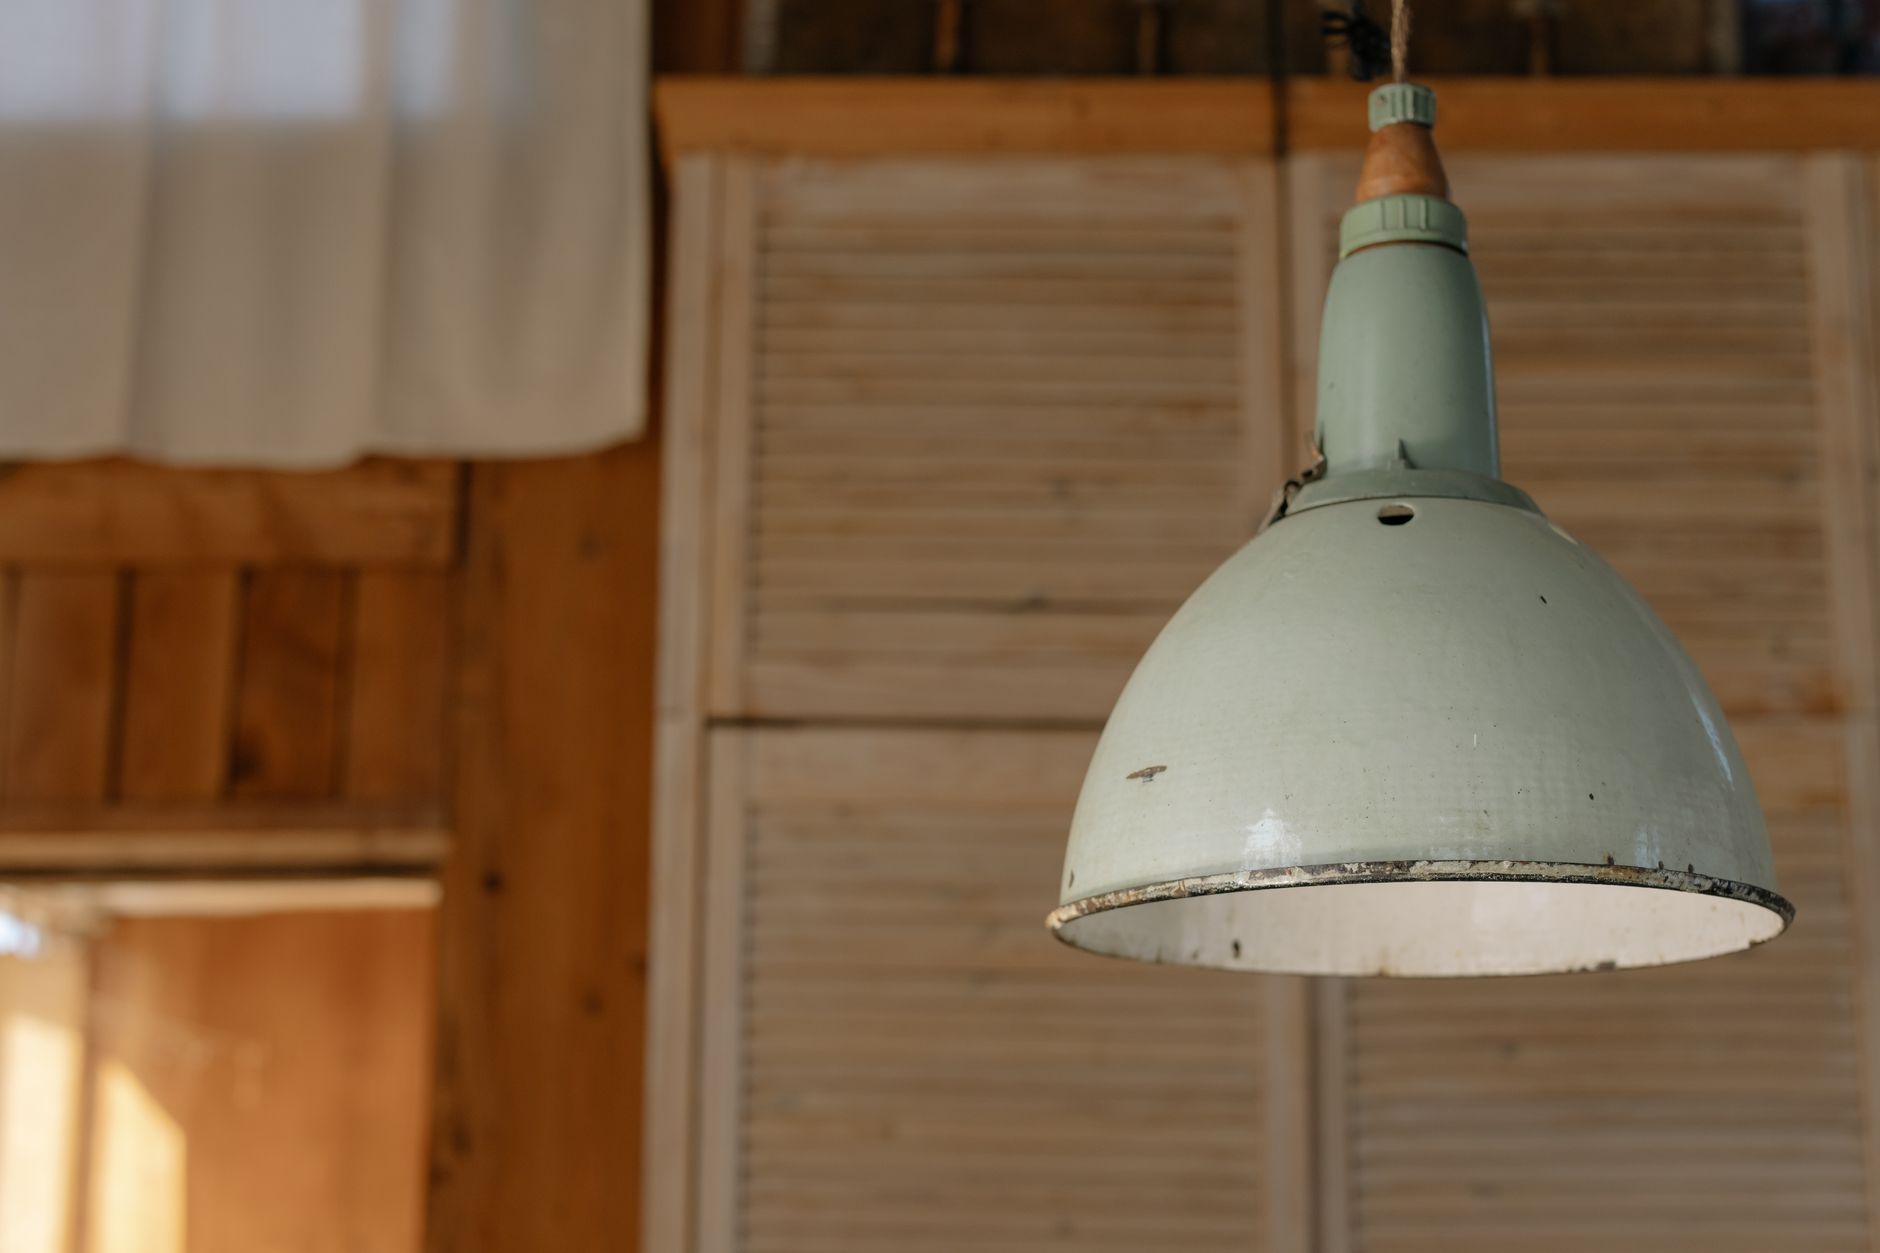
If you’ve scrolled through #LampTok or browsed the architectural salvage groups lately, you know the vibe: vintage lighting is having a massive moment. From Art Deco boudoir lamps to mid-century ceramic table lamps, collectors are snapping up fixtures faster than estate sale organizers can price them. But here’s the shocking reality—literally. Most of these beauties still run on cloth-wrapped, brittle wiring installed before the Eisenhower administration. That’s why this antique lamp rewiring safety guide matters more in 2026 than ever before. With insurance companies tightening requirements on vintage electricals and the DIY restoration trend booming, knowing how to safely modernize a lamp’s guts while preserving its soul is the difference between a glowing heirloom and a fire hazard.
Why 2026 Is the Year to Finally Rewire That Estate Sale Find
The antique lighting market has shifted dramatically this year. Searches for “vintage lamp restoration” jumped 47% year-over-year, and auction houses report that professionally rewired lamps now command 30-40% higher prices than “as-is” electrical projects. But there’s a catch: new UL standards introduced in late 2025 mean that homemade repairs using non-certified parts can void your homeowner’s insurance if a fire occurs.
Beyond liability, there’s preservation. Original wiring from the 1920s-1950s used rubber insulation that dries into a powdery crumb. When that insulation flakes off inside a metal lamp body, you’ve got a live wire waiting to arc. Rewiring isn’t just about function—it’s about protecting the historical integrity of the piece. A proper rewire maintains the lamp’s value while ensuring it survives another century.
The Hidden Dangers Lurking in Vintage Wiring
Before you plug in that gorgeous 1930s bridge lamp, understand what you’re dealing with. Vintage electrical systems predate modern grounding standards, and the materials degrade invisibly.
Cloth-covered wire (common until the 1950s) looks charming but hides brittle rubber underneath. Bend it too sharply during installation, and the insulation cracks. Aluminum wiring from the 1960s-70s expands and contracts differently than copper, loosening connections over time. And ungrounded two-prong systems offer zero protection against short circuits in metal-bodied lamps.
Here are the red flags that demand immediate attention:
- Scorch marks on the socket or plug
- Flickering when the cord moves
- Warmth at the plug after 10 minutes of use
- That distinct “hot plastic” smell (phenolic resin overheating)
If your lamp has a “cluster” socket (multiple bulbs) or a three-way switch, the stakes multiply. These generate more heat and require heavier gauge wire than standard single-bulb fixtures.
Your Antique Lamp Rewiring Safety Guide: Tools and Materials
Don’t start this project with a hardware store grab-bag. Antique lamps require specific components that balance modern safety with period aesthetics. Here’s your shopping list for a code-compliant, historically sensitive rewire:
Essential Components:
- 18/2 SPT-1 or SPT-2 lamp cord (SPT-2 has thicker insulation; choose gold or silver braided cloth covers for authenticity)
- UL-listed polarized plug (one blade wider than the other—non-negotiable for safety)
- Replacement socket with the same threading (usually 1/8 IP or 1/4 IP) as your original
- Underwriters knot supplies (not just a figure-eight—an actual UL knot prevents cord strain)
- Wire nuts rated for 18-gauge (skip the electrical tape; it degrades)
- Felt or cork gaskets to protect wire where it passes through metal
Tool Specifics:
- Wire strippers with 18-gauge notches (don’t use your teeth or a knife)
- Continuity tester or multimeter
- Needle-nose pliers with insulated handles
- Socket wrench set for tightening without crushing delicate metal threads
Pro tip: If your lamp has a pull-chain or rotary switch built into the socket, buy the exact replacement model. Mixing modern switches with vintage socket shells often creates pressure points that crack the phenolic housing.
Step-by-Step: Rewiring Without Destroying the Value
The cardinal rule of antique lamp restoration: reversibility. Never cut, solder, or epoxy original components unless absolutely necessary. Future collectors should be able to undo your work.
Step 1: Document and Disassemble Photograph the wiring path before touching anything. Note how the cord travels through the lamp body—some Victorian lamps have complex internal channels. Remove the socket shell by loosening the set screw (usually on the side), not by twisting the entire mechanism.
Step 2: The Underwriters Knot This isn’t optional. The Underwriters knot (a specific figure-eight with a locking loop) prevents the wire from pulling out of the socket terminals if someone yanks the cord. Tie it so the knot sits inside the socket cap, not the shell.
Step 3: Polarity Matters Connect the ribbed or marked wire (neutral) to the silver screw terminal. Connect the smooth wire (hot) to the brass screw. Reverse these, and you’ve created a shock hazard even when the lamp is off. For three-way sockets, the black wire goes to the brass screw, red to the traveler, and white to neutral.
Step 4: The Grounding Question If your lamp has a metal body and you’re using a three-prong plug, attach the green ground wire to the lamp’s metal frame using a star washer and screw. If you’re maintaining a two-prong setup for historical accuracy, ensure the lamp sits on a non-conductive surface and never use it in bathrooms or kitchens.
Step 5: Testing Before Assembly Use a continuity tester to verify no shorts between the hot and neutral wires. Check that the switch interrupts the hot wire, not the neutral. Only then should you reassemble the harp and shade.
When to Call a Professional (and What It Costs in 2026)
Some projects exceed DIY scope. If your lamp has original gas-to-electric conversion components, crystal or glass body channels that require specialized fishing tools, or museum-quality provenance, hire a pro. In 2026, professional lamp rewiring runs $75-$150 for standard table lamps, $200+ for chandeliers or complex floor lamps.
Look for technicians certified by the American Lighting Association or those advertising “UL 153 compliance” (the standard for portable electric lamps). Avoid general handymen; antique lighting requires specific knowledge of period threading and materials. A qualified pro will also provide a dated certificate of rewiring—crucial for insurance purposes and future resale value.
Conclusion: Bright Ideas for Safe Collecting
Rewiring an antique lamp bridges the gap between preservation and practicality. By following this antique lamp rewiring safety guide, you’re not just preventing electrical fires—you’re ensuring that piece of history remains functional for the next generation of collectors. Whether you’re prepping inventory for your antique booth or finally fixing that family heirloom, remember: the goal isn’t to make it look new, but to make it operate safely while honoring its past. Start with a simple table lamp, invest in quality UL-listed components, and don’t hesitate to consult a professional for complex pieces. Your future self—and your insurance agent—will thank you when that 1920s art glass lamp glows safely for decades to come.